Rebuilding a capacitor (4)
|
|
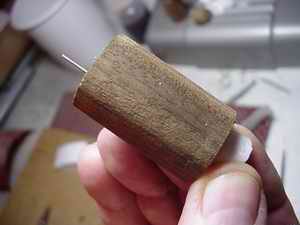
The capacitor now is put into its "new home". This is a difficult job, to put both leads through the little holes... |
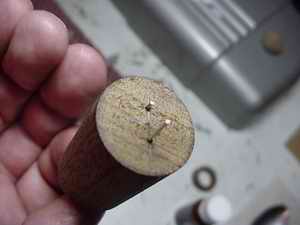 |
The holes in the bottom are a little oversized... |
 |
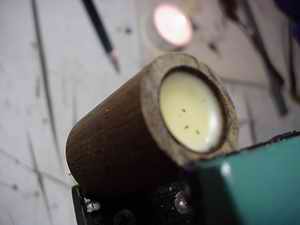
Topview of the capacitor in its "new home"... |
|
|
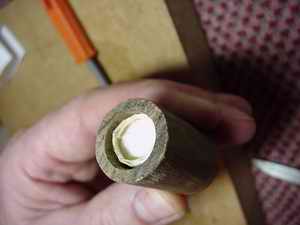
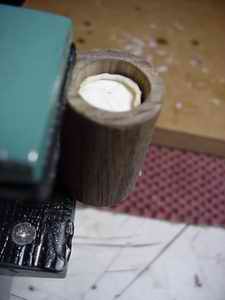
Then the capacitor is placed in an upright position in the vice to seal it off with hot beeswax... |
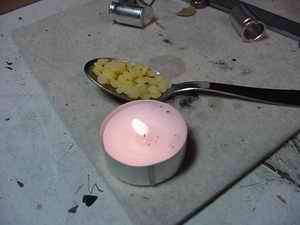 |
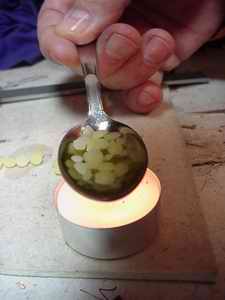
The delivered beeswax comes shredded into little bits. Melting these bits is easily done the "junkie-way": on a spoon above a candle... |
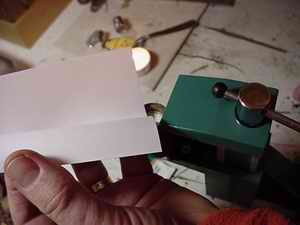 |
To poor the hot beeswax into the capacitor a "sharp" fold is made in a piece of paper, that can be used as a gutter.. |
|
|
Now the beeswax is melted until it smokes. This is really neccesary because the beeswax needs to be really fluid to poor in between the capacitor and the wooden housing. |
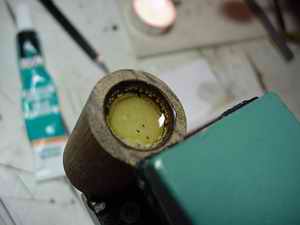 |
Poor the beeswax through the "gutter" into the housing. The capacitor must be submerged in beeswax, the beeswax just up to the rim of the housing. |
 |
As soon as the beeswax is congealed, you can take the capacitor out of the vice. You can tell by the warmth of the housing that the beeswax really has reached the bottom... |
_______________