Rebuilding a capacitor (2)
|
|
Now the housing can be bend open, releasing the actual capacitor. |
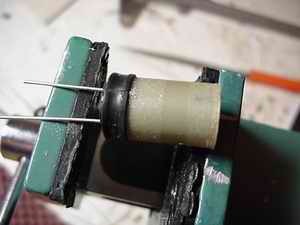 |
A look at the actual capacitor, a piece of rolled up paper with the electrolyt in between. Remove carefully the filings by blowing or by brushing... |
 |
Another picture of the capacitor, showing the removed housing in the foreground. |
 |
As you can see, the capacitor now easily fits into its new home. |
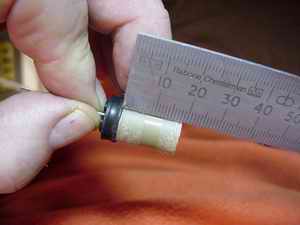 |
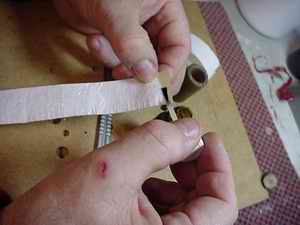
Now we measure the height of the elctrolyt. This is done to cut to size a piece of ricepaper which protects the electrolyt against the hot beeswax. Ricepaper has best tonal qualities (no joke!). |
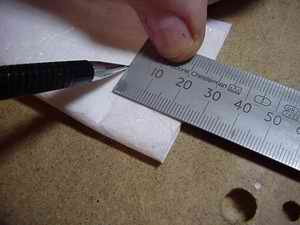 |
The ricepaper is marked about 5mm bigger than measured to provide extra paper which can be folded over the top of the capacitor. |
 |
Cutting the ricepaper.. |
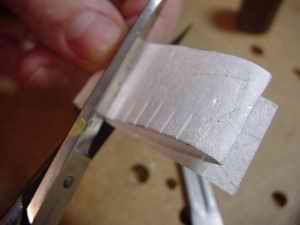 |
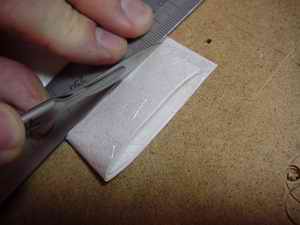
Then the ricepaper is snipped in at a 5mm interval. This is to ease up the folding later on. |
 |
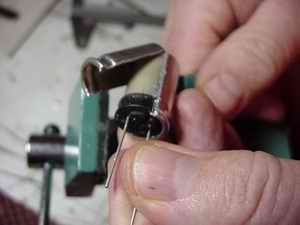
The starting point of the ricepaper is now lacquered to ensure a good fix when wrapped around the capacitor.. |
_______________