Okki Nokki repair
Records need cleaning, be it new or second-hand. For years I did this by hand, letting the records dry on the air. A few months ago an opportunity came to buy an Okki Nokki second hand with almost no hours. This added another dimension to cleaning records since difference between air-dried and vacuum dried records is audible. So a big bummer when suddenly the Okki Nokki decided not to start anymore: Only a click when switched on, nothing else.
Can we fix it?
Since only a click was audible at switch on, something could be wrong with the liquid sensor. The manual states that residual liquid has
to be drained regularly from the reservoir to prevent damage at an interval of 20 to 30 records. Otherwise warranty will be nullified.
Each drain I did was about half a cup full, far less than the mentioned 350ml. So what coud be wrong? I decided to open it up and see for myself
despite voiding warranty.
Searching te web for how-to's or pictures was not successful for the latest model so found out myself and decided to share..
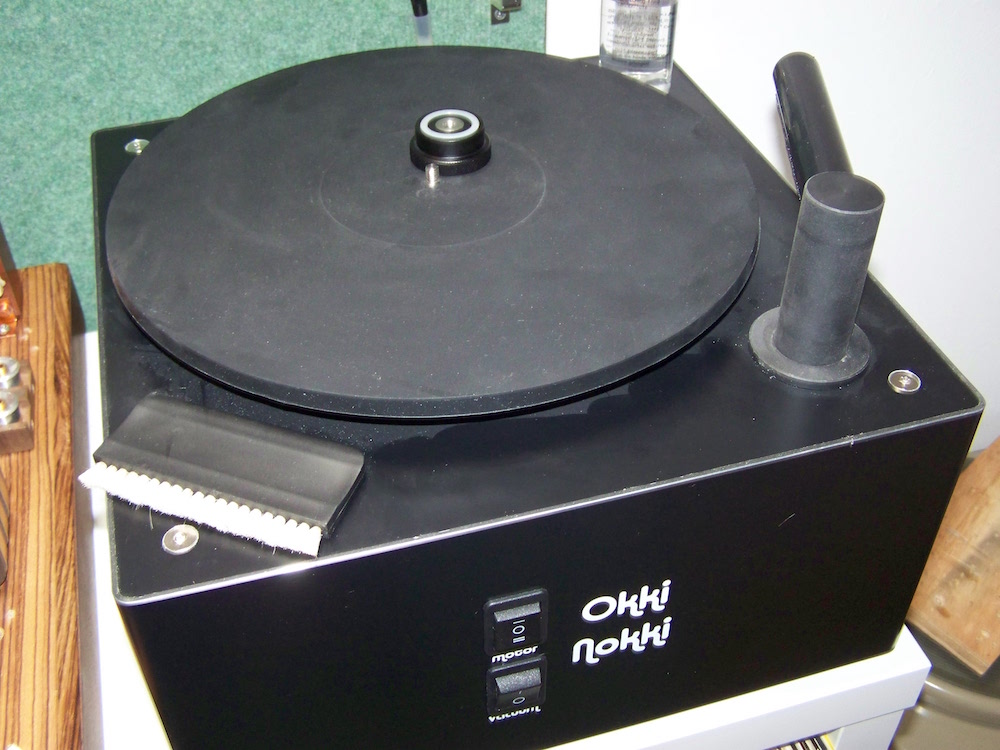
Latest model Okki Nokki (June 2016)
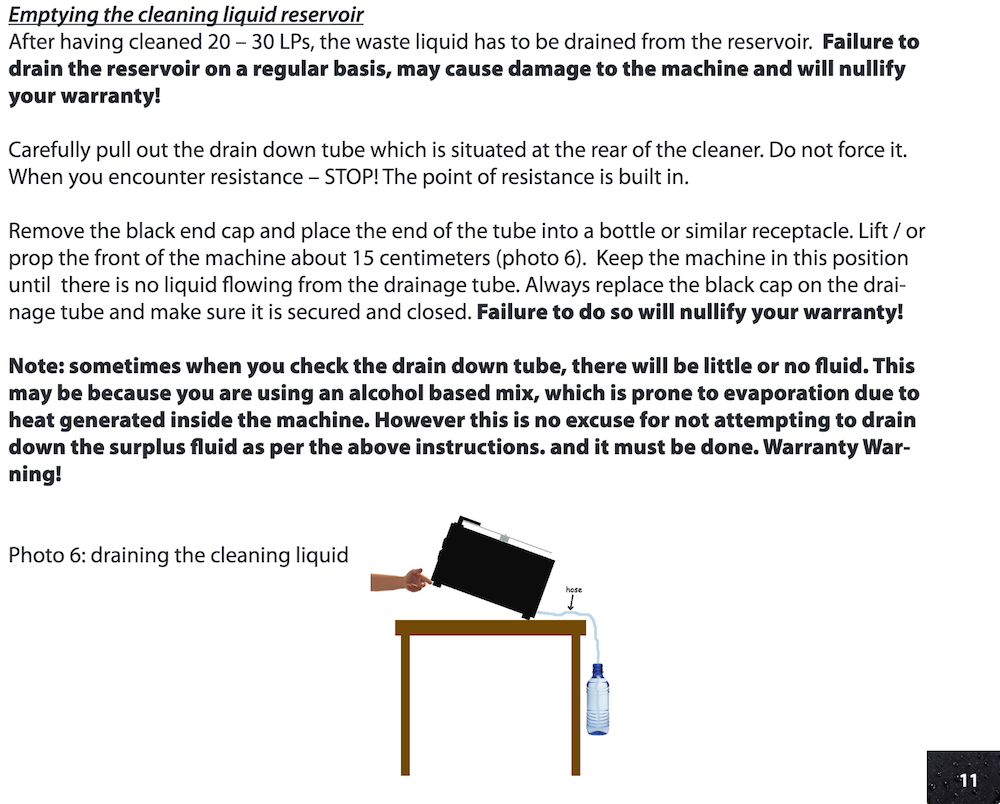
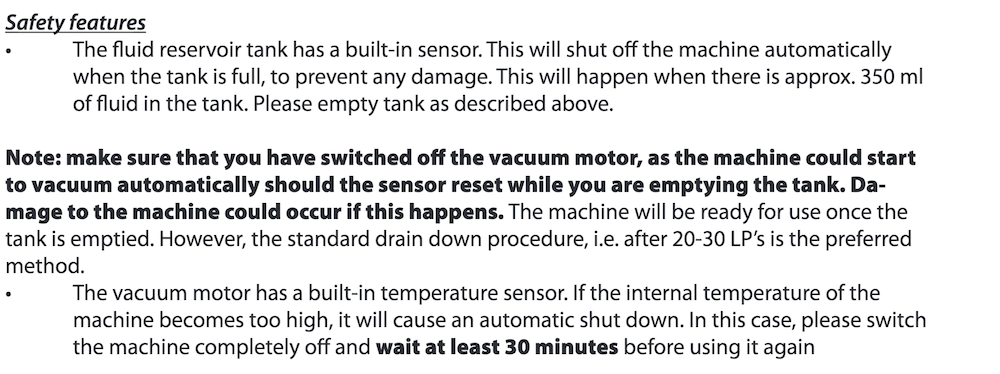
Referred to manual entries..
Let's open it..
This took me a while to figure out, so these are my steps by trial and error:
- Put the Okki Nokki on it's side with the suction arm opening at the lower side.
- At the bottom remove the two philips screws and remove the four rubber feet (using a torx screwdriver).
- Remove the plastic ventilation grill. The hole willl provide for a grip to pull the bottom out of the enclosure (watch it: the hole may have sharp edges which can harm your fingers).
- Carefully remove the bottom. This is not so easy since it is a snug fit to prevent air leakage when operating the vacuum pump.
- Now you can do your stuff inside..
- Close it again following the steps in reverse order
Below lots of pictures..
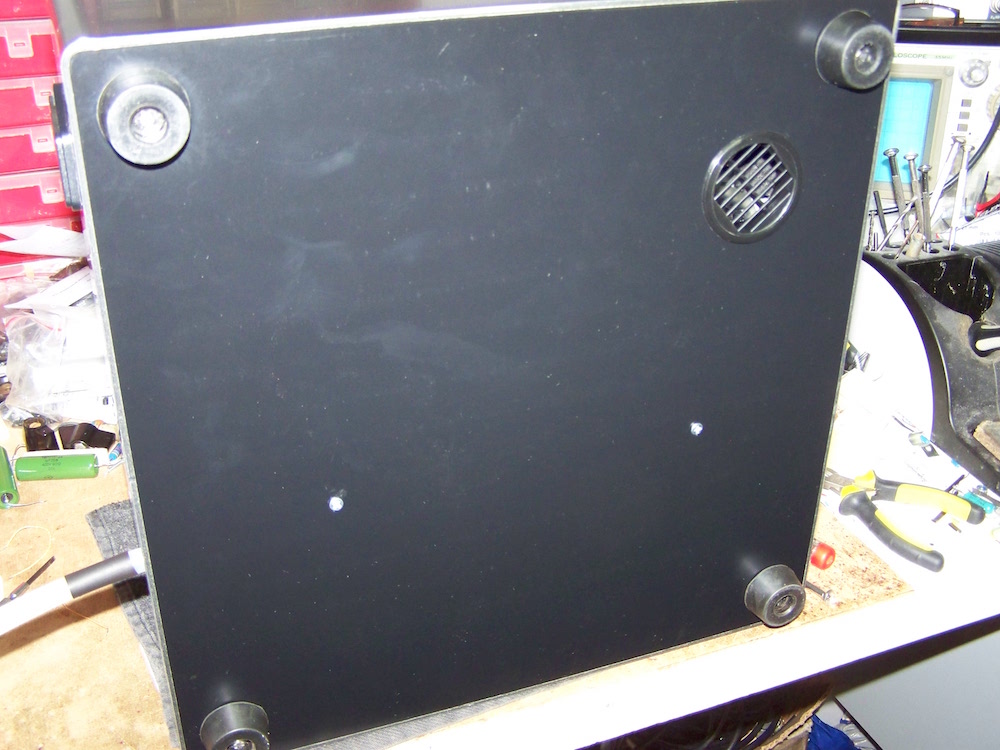
On its side, unscrew philips screws and remove feet..
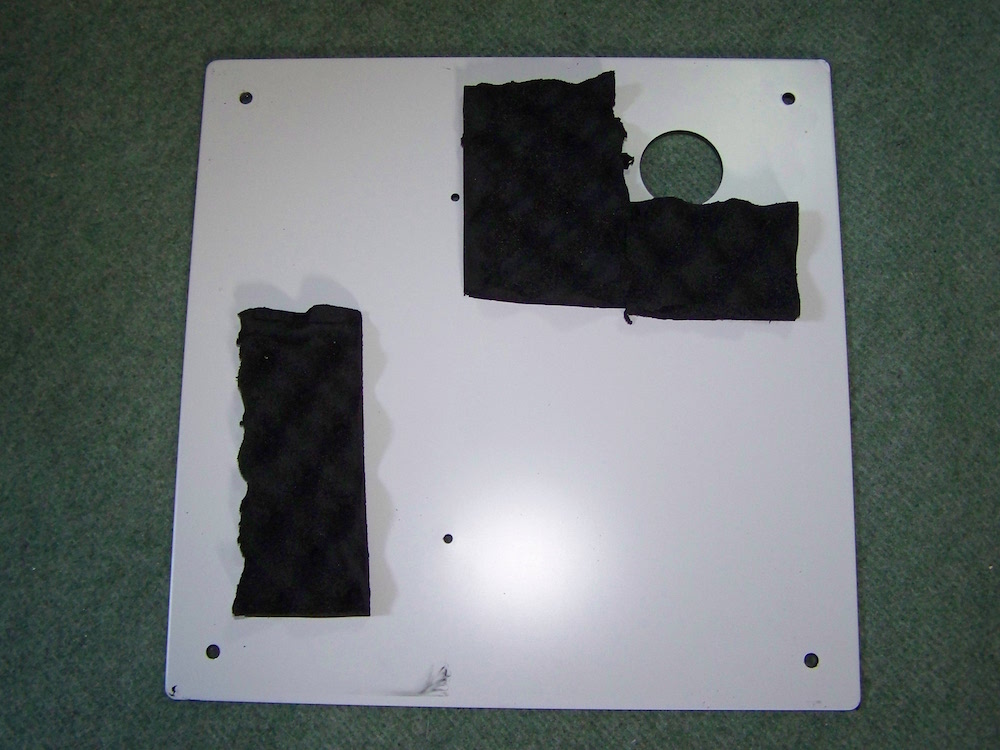
The removed bottom plate. Not glued but a snug fit. Do not use a screwdriver or so as leverage as this will cause air leakage..
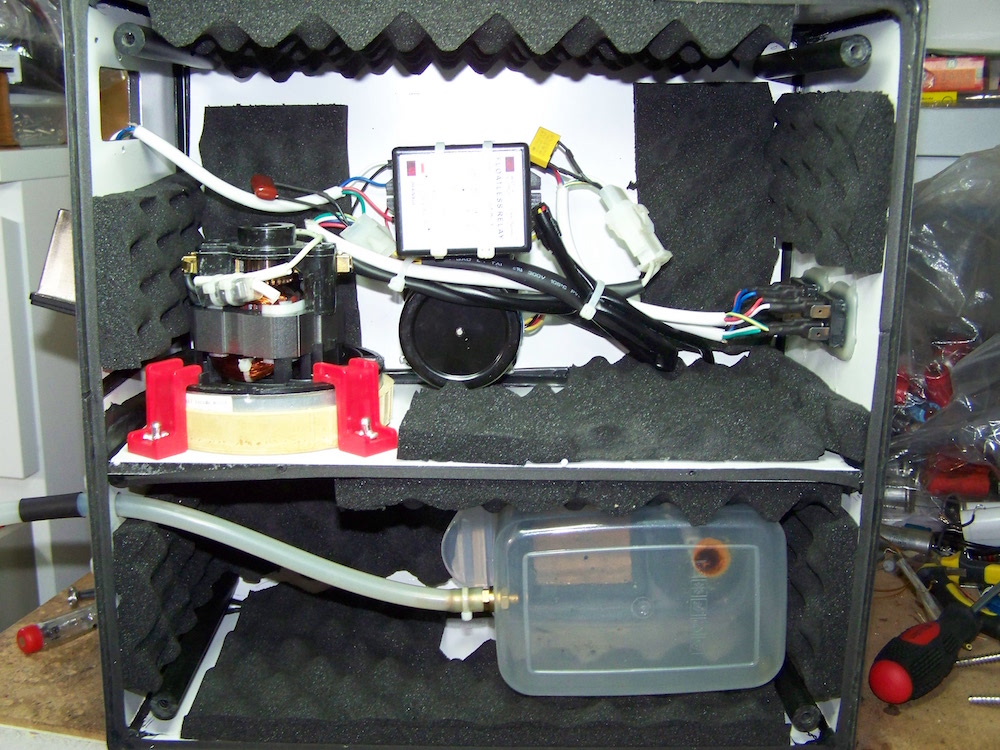
Overview of the innards..
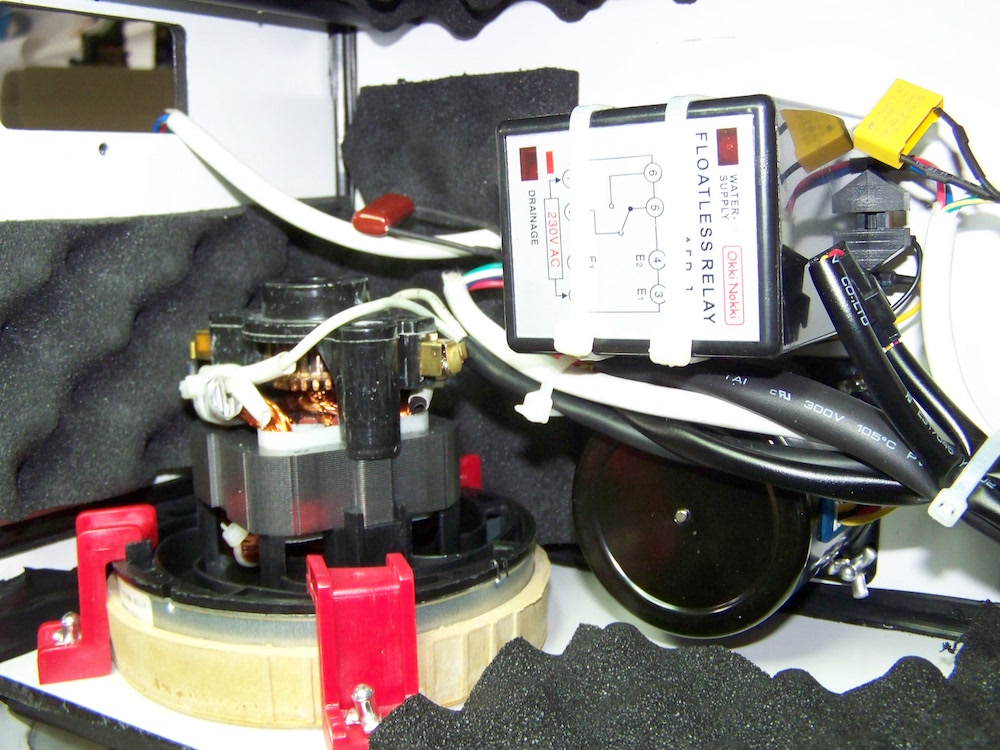
The floatless relais and vacuum pump..
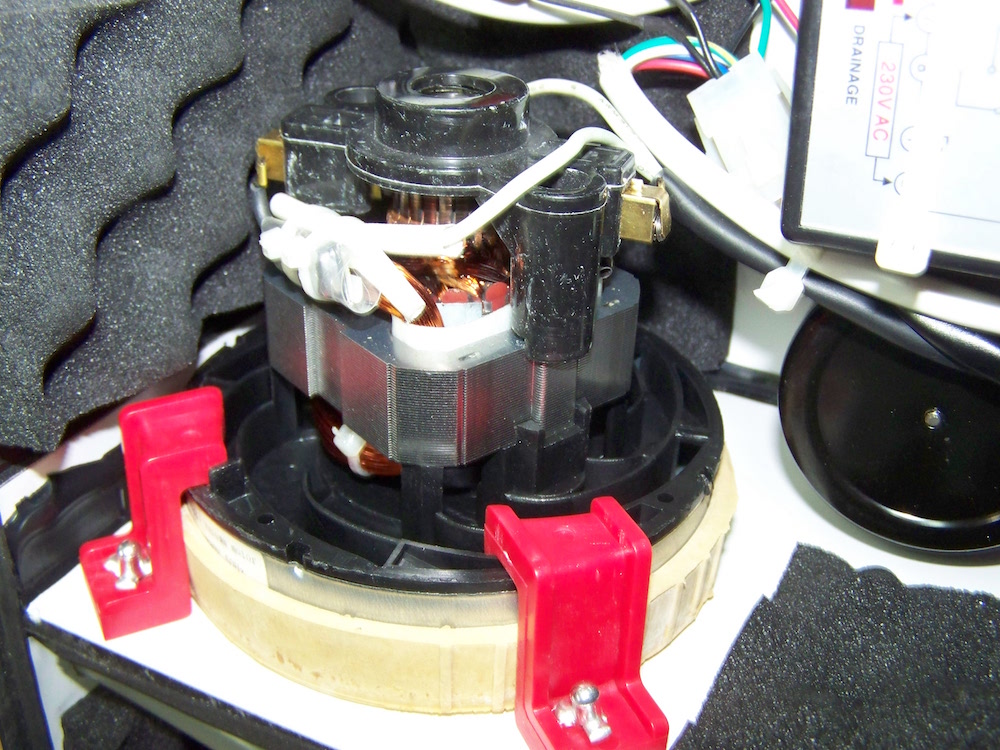
Detailed view of the vacuum pump.
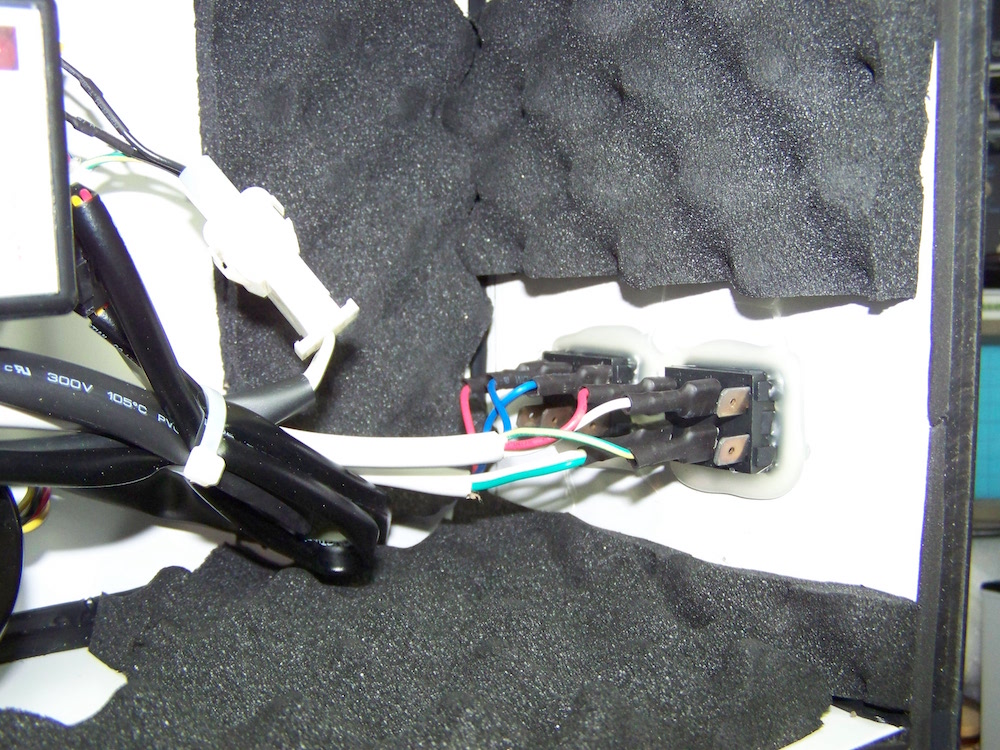
Switches at the front..
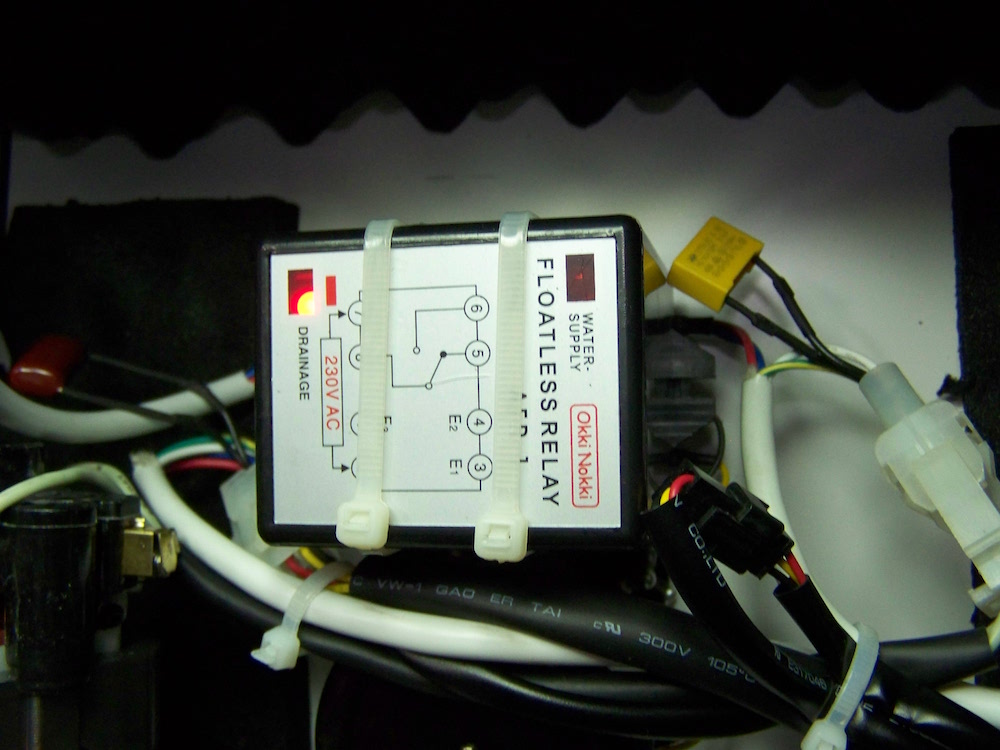
Relais indicating that drainage is needed with no water in the reservoir..
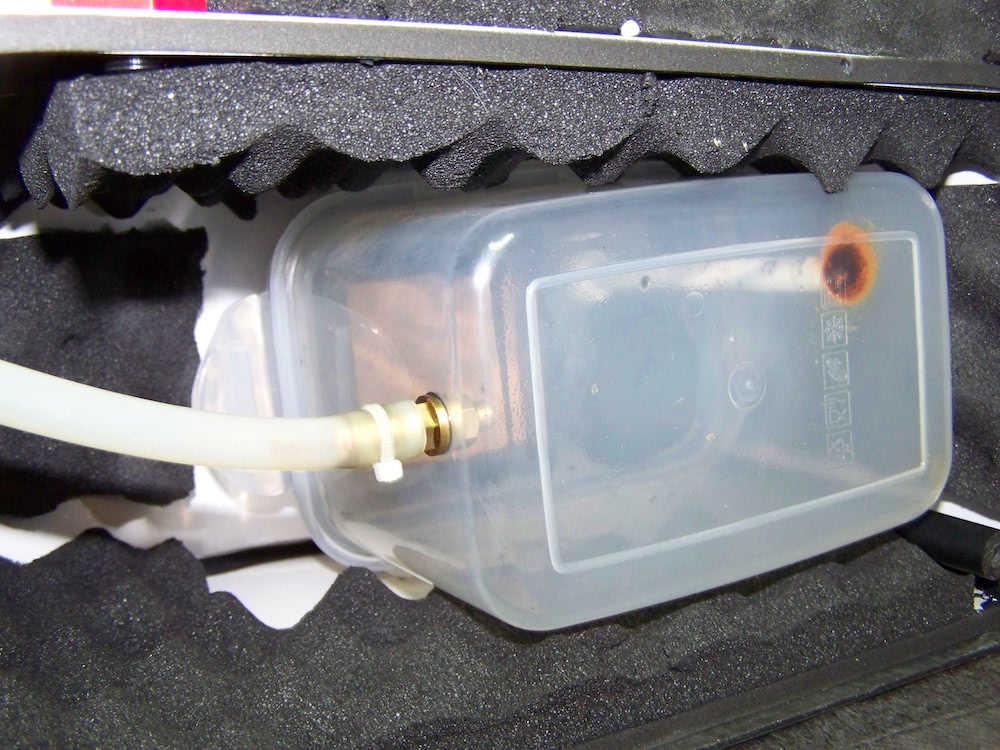
The reservoir, a plastic box, with drain tube and sensor (inside)..
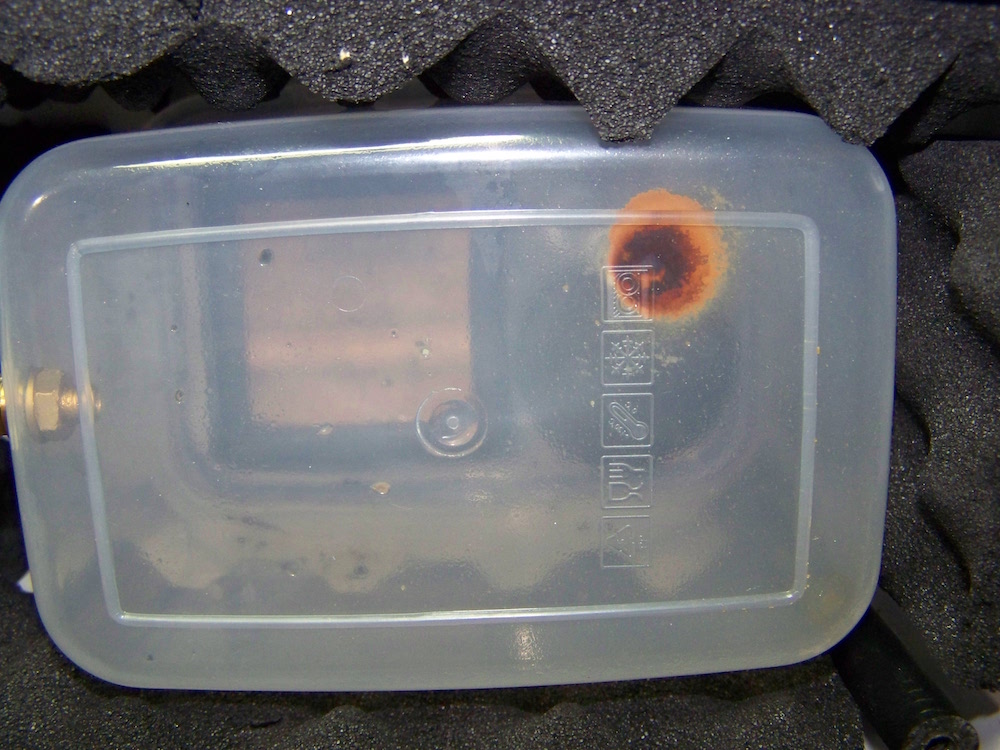
The built up dirt below the sensor..
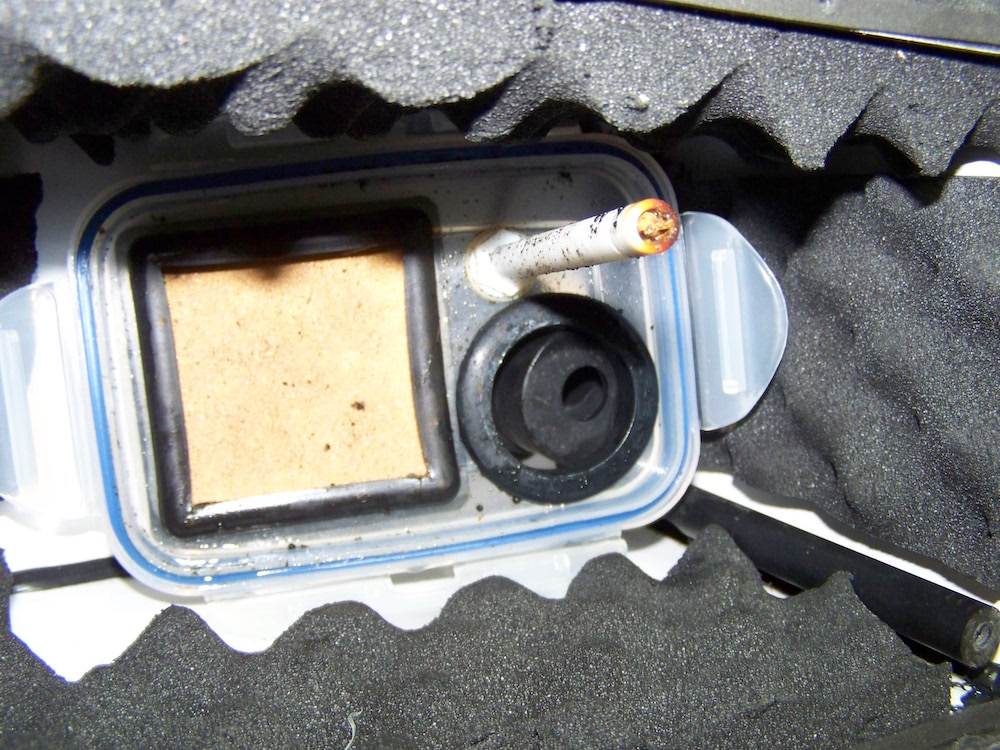
Reservoir removed. Be aware of the four clips that secure the lid.
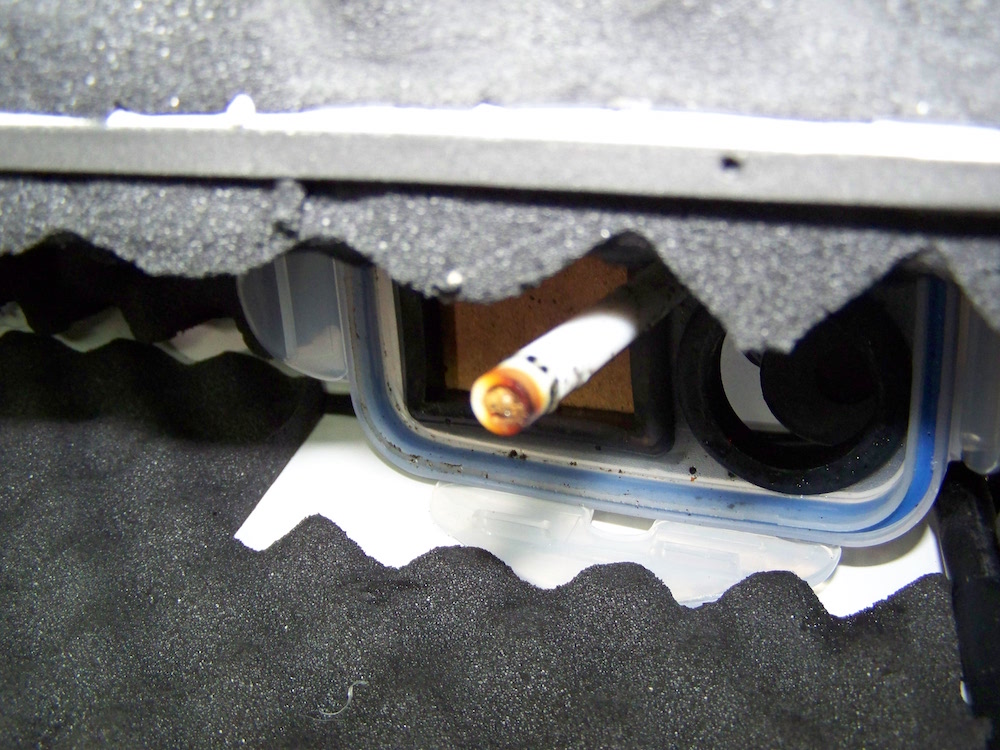
The polluted sensor..
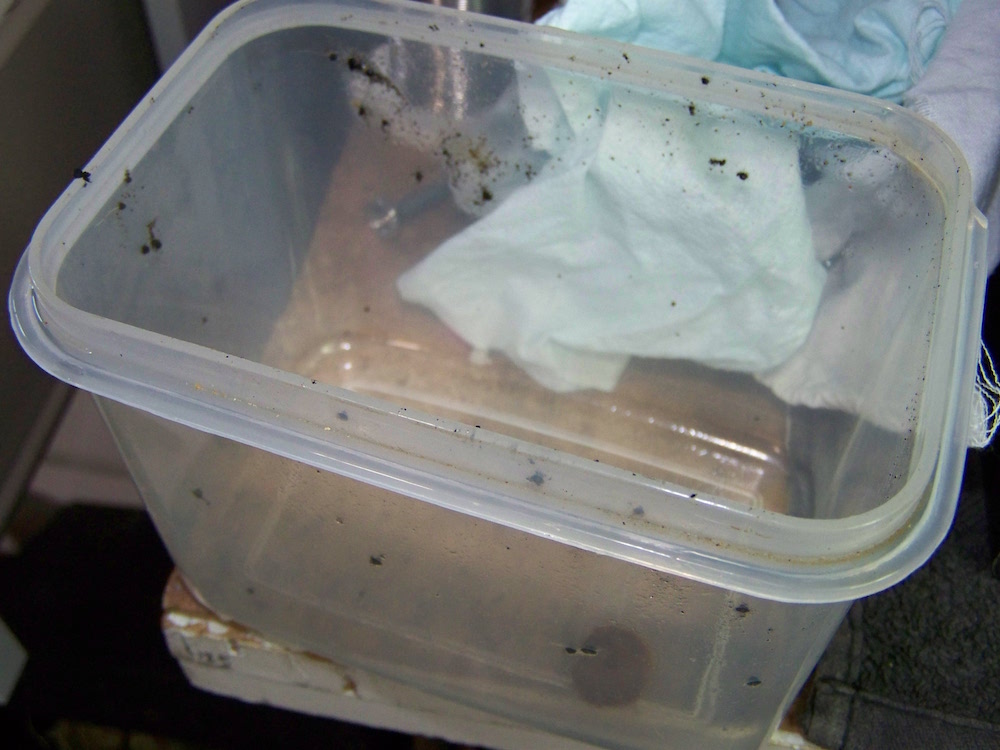
Residual dirt in the reservoir..
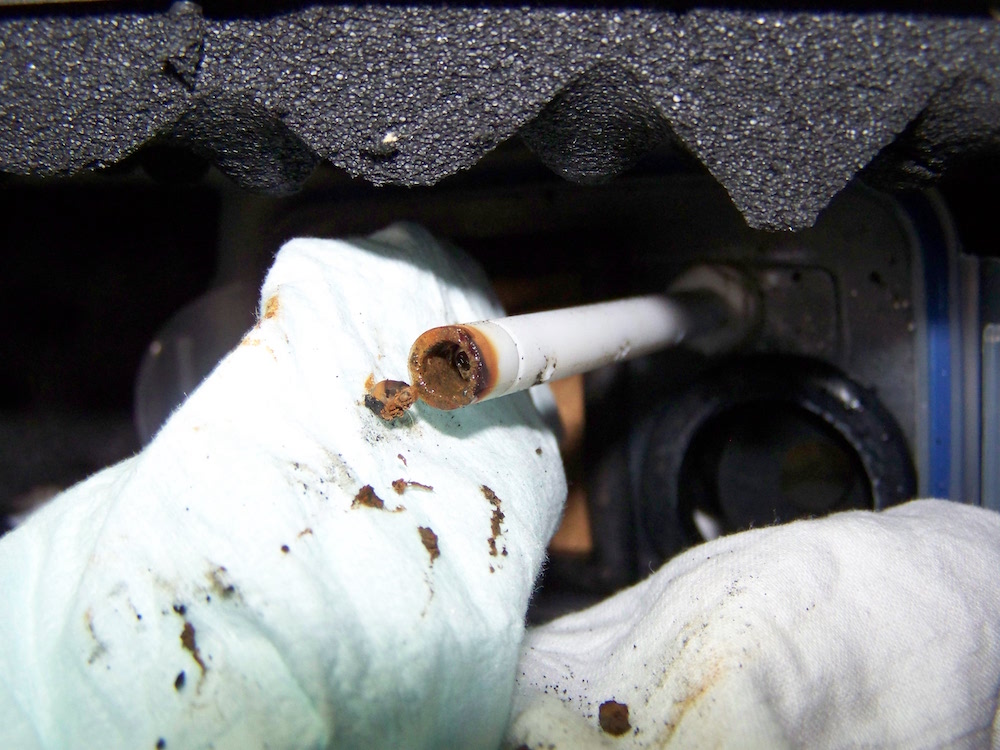
Cleaning the sensor..
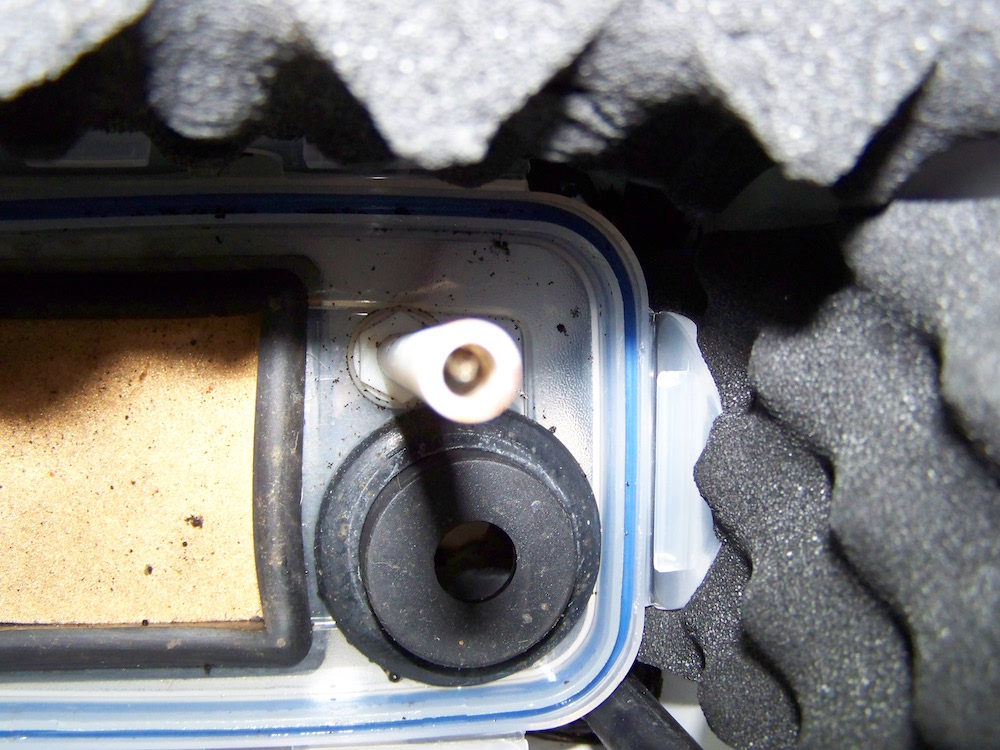
Clean with a spray bottle, like for plants..
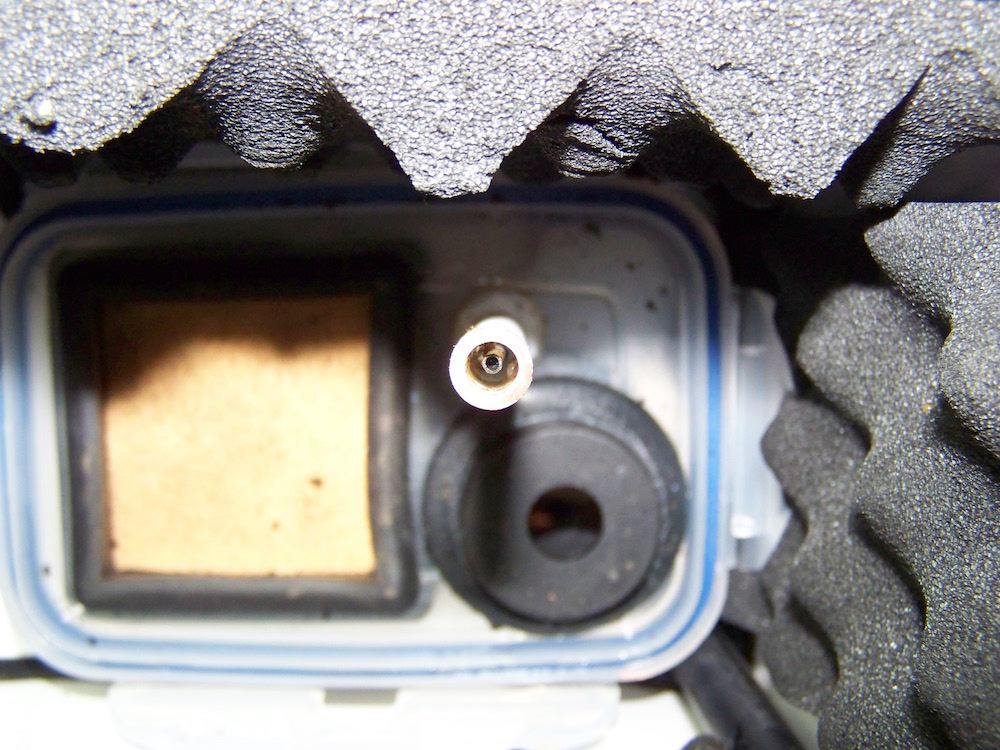
The result..
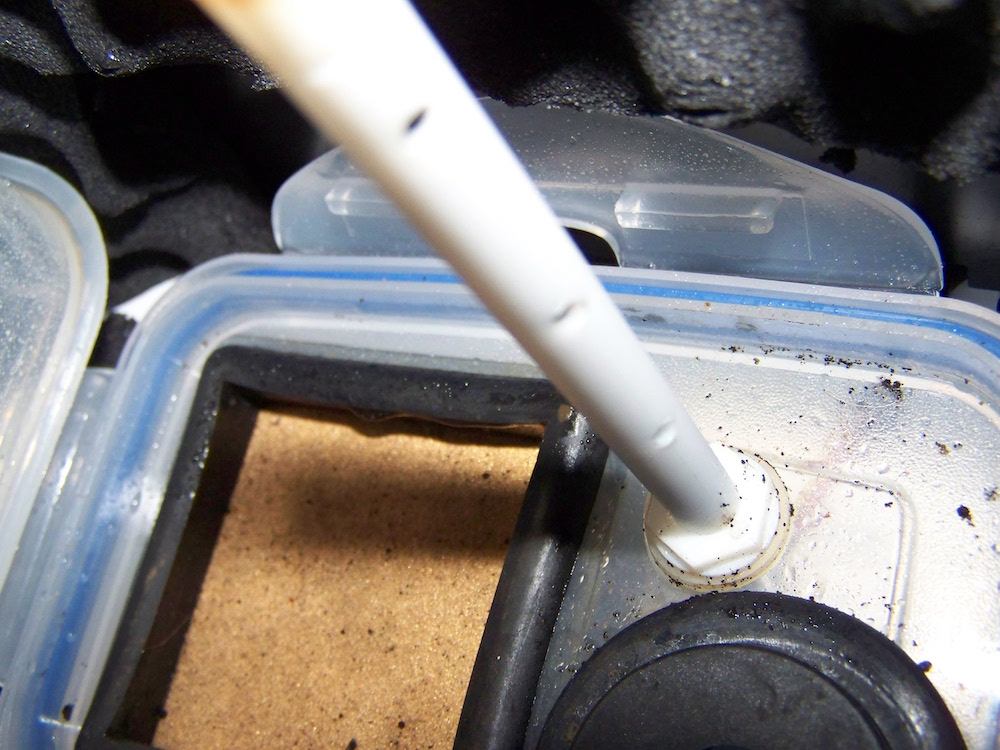
Sensor has sideholes as well for level sensing..
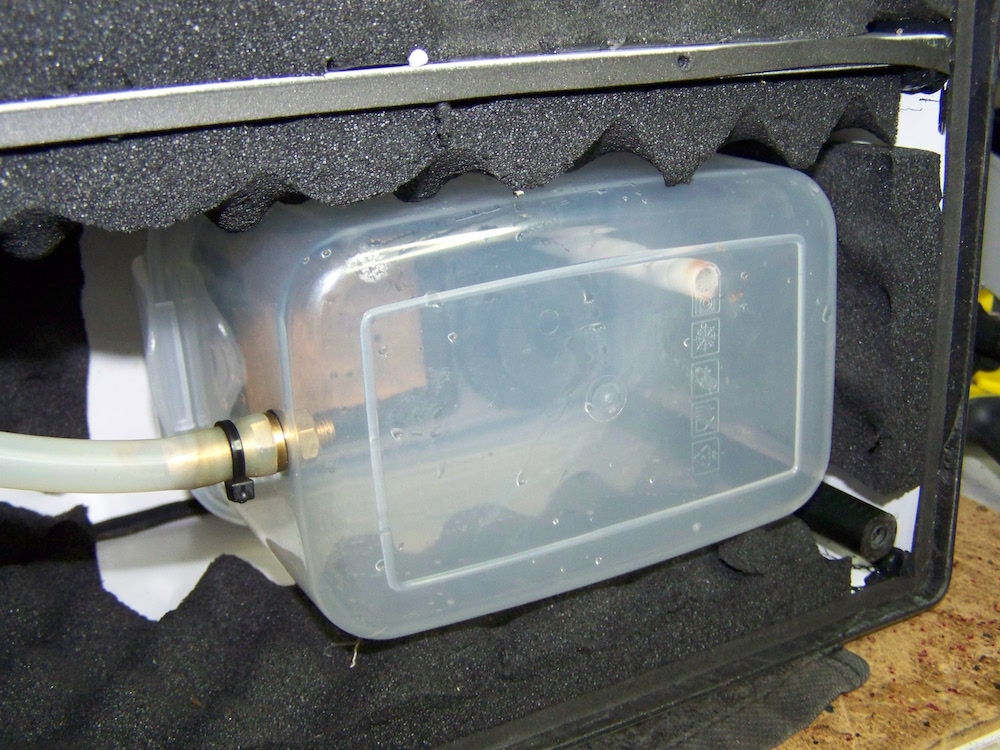
Reservoir put back again..
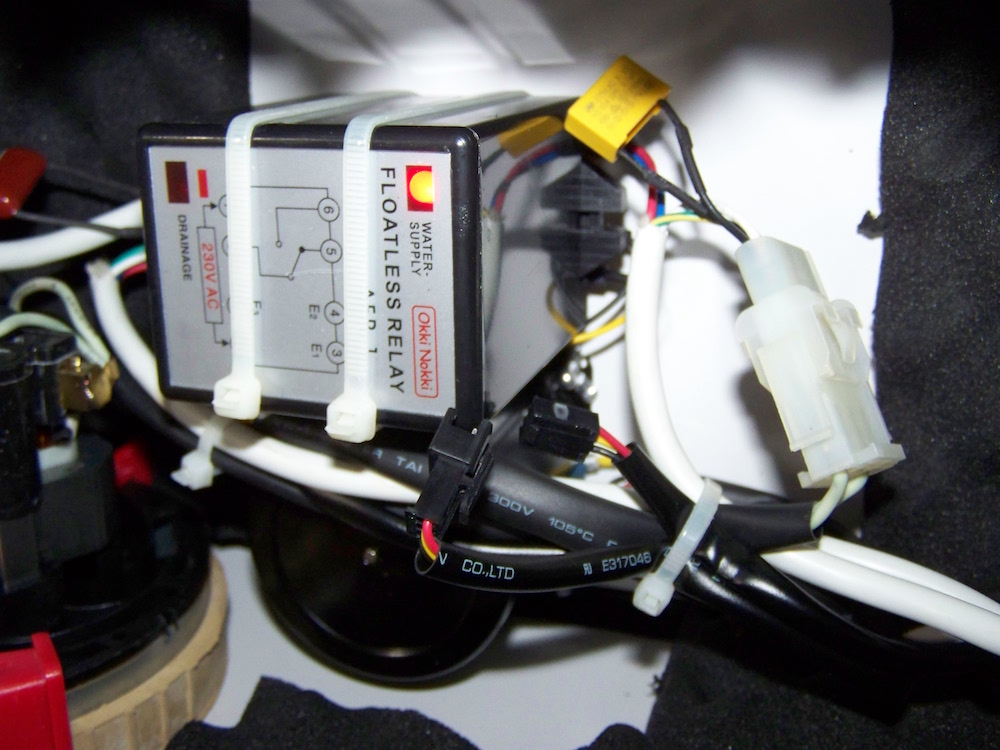
Relais indicating water supply, so no active sensor (disconnected sensor)
